How to Add GPS Location to Photos Online?
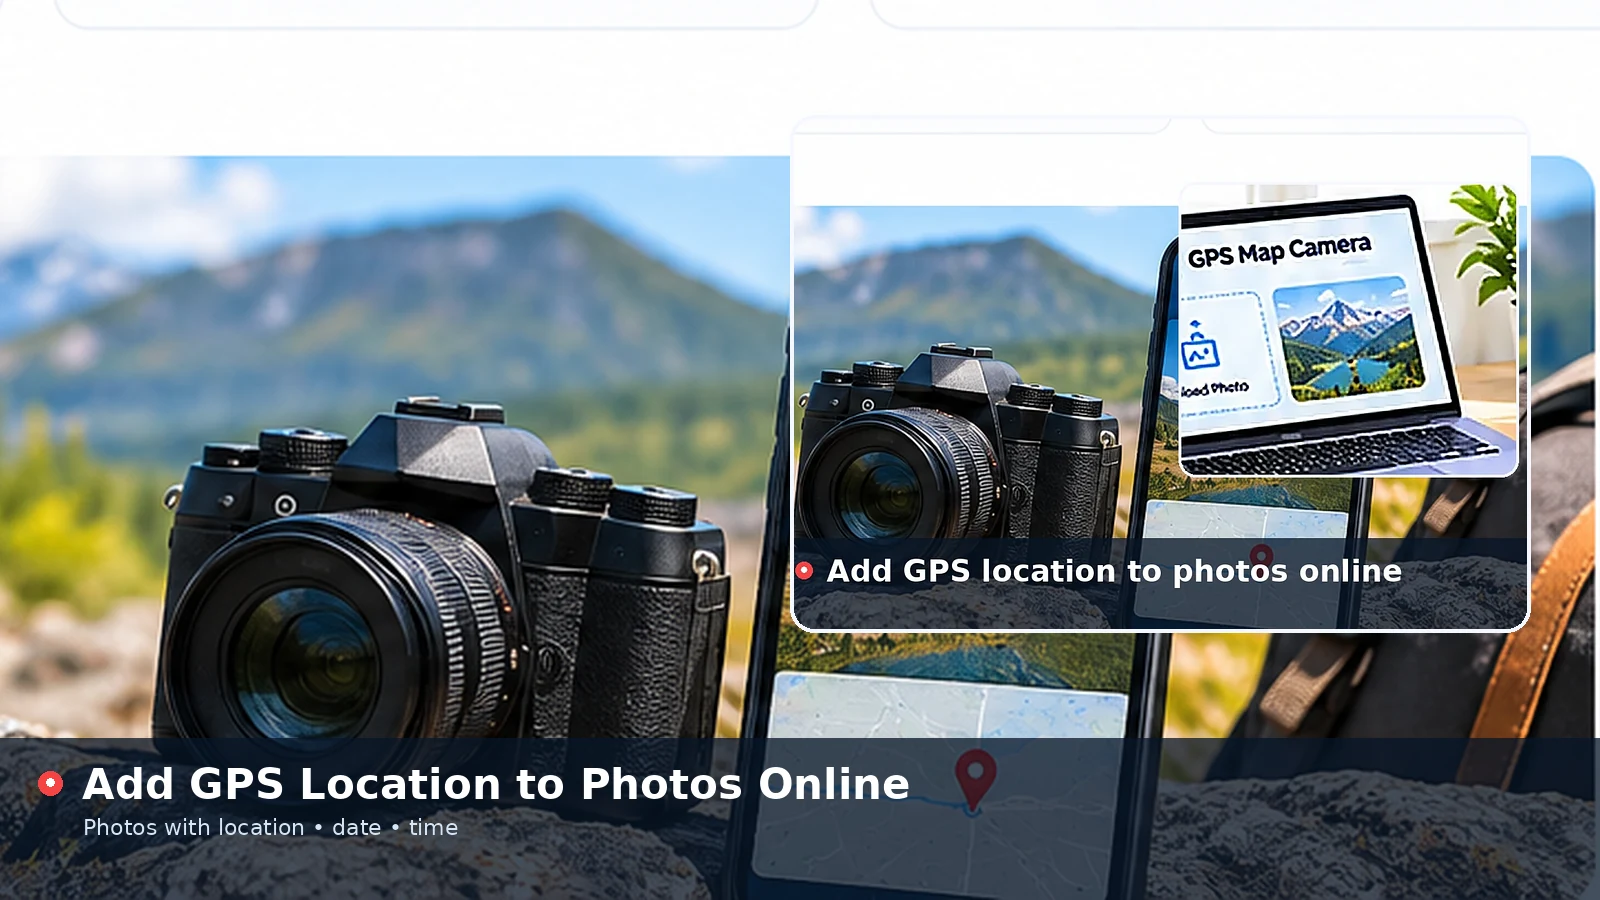
GPS Map Camera makes it simple to add GPS location to photos online without installing anything. You upload a picture, choose the place and coordinates, set the date and time, adjust how the stamp looks and save a fresh copy. This walkthrough explains each part of that process, the choices that matter and the details that keep your stamped photos clear and trustworthy.
What You Need Before You Start
Any modern browser on a phone, tablet or computer is enough. Chrome, Edge, Firefox and Safari all support the canvas features the tool relies on, and the page works on both mobile data and Wi-Fi because nothing is uploaded to a server.
Have the photo ready on your device and, ideally, know where it was taken. If you are standing at the location right now, the browser can supply your current coordinates. For older pictures, a JPG that still contains EXIF metadata may already hold the position and capture date.
- A JPG, PNG or WebP image up to 25 MB
- The place name or address you want to display
- Coordinates from your device, the photo file or a map you trust
- A few seconds to review the preview before saving
Upload the Photo You Want to Stamp
Open the tool on the homepage and press Upload Photo, or drag the image onto the preview area on a computer. On most phones the same button also offers the camera, so you can capture a new picture and stamp it immediately.
As soon as the file loads, the preview replaces the sample image and a green badge confirms you are working on your own photo. If the JPG includes GPS or date metadata, those values move into the form automatically, and a status message tells you what was found.
Supported Files and Sizes
The tool accepts the three formats most cameras and phones produce. Extremely large images are scaled so the longest side is 4096 pixels, which keeps the browser responsive while still producing a sharp, detailed result.
| Format | Typical source | Notes |
|---|---|---|
| JPG | Phone and camera photos | May include EXIF date and GPS data |
| PNG | Screenshots and edited images | Lossless, larger files |
| WebP | Web downloads and some phones | Smaller files with good quality |
Choose the Location Details
The Location tab holds four fields: place name, address line, latitude and longitude. The place name is the bold first line of the stamp, so a short form such as a town, district and country reads best. The address line is optional and suits street names, plot numbers or landmarks.
Coordinates can be typed manually or filled with Use My Current Location. Latitude must sit between -90 and 90 and longitude between -180 and 180; anything outside those ranges is flagged with a clear message so the stamp never shows impossible values.
Using Your Current Position
When you press the location button, the browser asks for permission. After you allow it, the tool fills the coordinates and reports the accuracy your device provided, for example within 12 metres. Outdoor GPS on a phone is usually far more precise than Wi-Fi positioning on a laptop.
Place names are not looked up automatically, because that would require sending your coordinates to an outside service. Typing the name yourself keeps the process private and lets you choose wording that suits your records.
Set the Date and Time
The Date tab lets you pick any date and time or reset to the current moment with one click. Five display formats cover common regional habits, from 08 Jan 2025, 10:24 AM to an ISO-style 2025-01-08 10:24 that sorts neatly in spreadsheets.
The same tab controls the coordinate format. Decimal degrees are compact and easy to paste into mapping apps, while degrees, minutes and seconds are familiar to surveyors and outdoor enthusiasts.
Customise the Stamp Design
The Style tab controls the look of the overlay. You can rename the title row, move the stamp to any corner or stretch it into a full-width bar, and switch between dark glass, light and sunny yellow themes for good contrast against different backgrounds.
- Text size slider from 70 to 150 percent
- Street or terrain map badge, or no badge at all
- Optional extra note such as a job number or site name
- Toggles to show or hide the title, address, coordinates and date
- Your own logo in the title row
Ready to stamp a picture? Open the tool and add your location in under a minute.
Add Location to PhotoSave and Share Your Geotagged Photo
Choose JPG for a smaller file or PNG for a lossless copy, then press Save Stamped Photo. The browser downloads a new image named with the current date and time, while your original photo stays exactly as it was.
The saved copy shows the location as visible text. It does not write hidden GPS metadata, which is useful because many messaging and social apps strip that metadata anyway. Anyone who opens the picture can read the stamp without special software.
Common Mistakes to Avoid
Most problems come from rushing the final check. A stamp that covers a face, a misspelled street name or a wrong time zone can undermine a photo that was meant to serve as a record.
- Leaving the sample coordinates in place after uploading a new photo
- Placing a large stamp over the main subject
- Using a light theme on a bright sky, which lowers contrast
- Forgetting that the device clock controls the current time button
Stamping Several Photos in One Session
The tool keeps your stamp settings while you work, which makes batches quick. After saving one picture, upload the next file and only the photo changes; the theme, position, text size, title and logo stay exactly as you left them.
Update the place name, coordinates and date for each new photo before saving. If the pictures are JPG files with metadata, those fields refresh automatically, so you mostly check the values and press save.
- Keep a consistent style across a whole album or report
- Check that each photo has its own date and coordinates
- Use the note line to number or label pictures in a series
Privacy While Working Online
Stamping happens entirely on your device. The image is read by your browser, drawn onto a canvas and saved back to your downloads folder, so nothing is transmitted to this website. Location access is requested only when you press the button, and you can decline it.
Before sharing stamped photos publicly, consider how precise the details should be. A city-level place name is often enough for social posts, while exact coordinates suit private records, inspections and deliveries.
Conclusion
GPS Map Camera gives you a quick, private way to add GPS location to photos online: upload, fill in the place and coordinates, set the date, style the stamp and save. Take a moment to review the preview each time, and your pictures will carry clear, readable location details wherever they are shared.