How to Add Your Logo to a GPS Map Camera Photo Stamp?
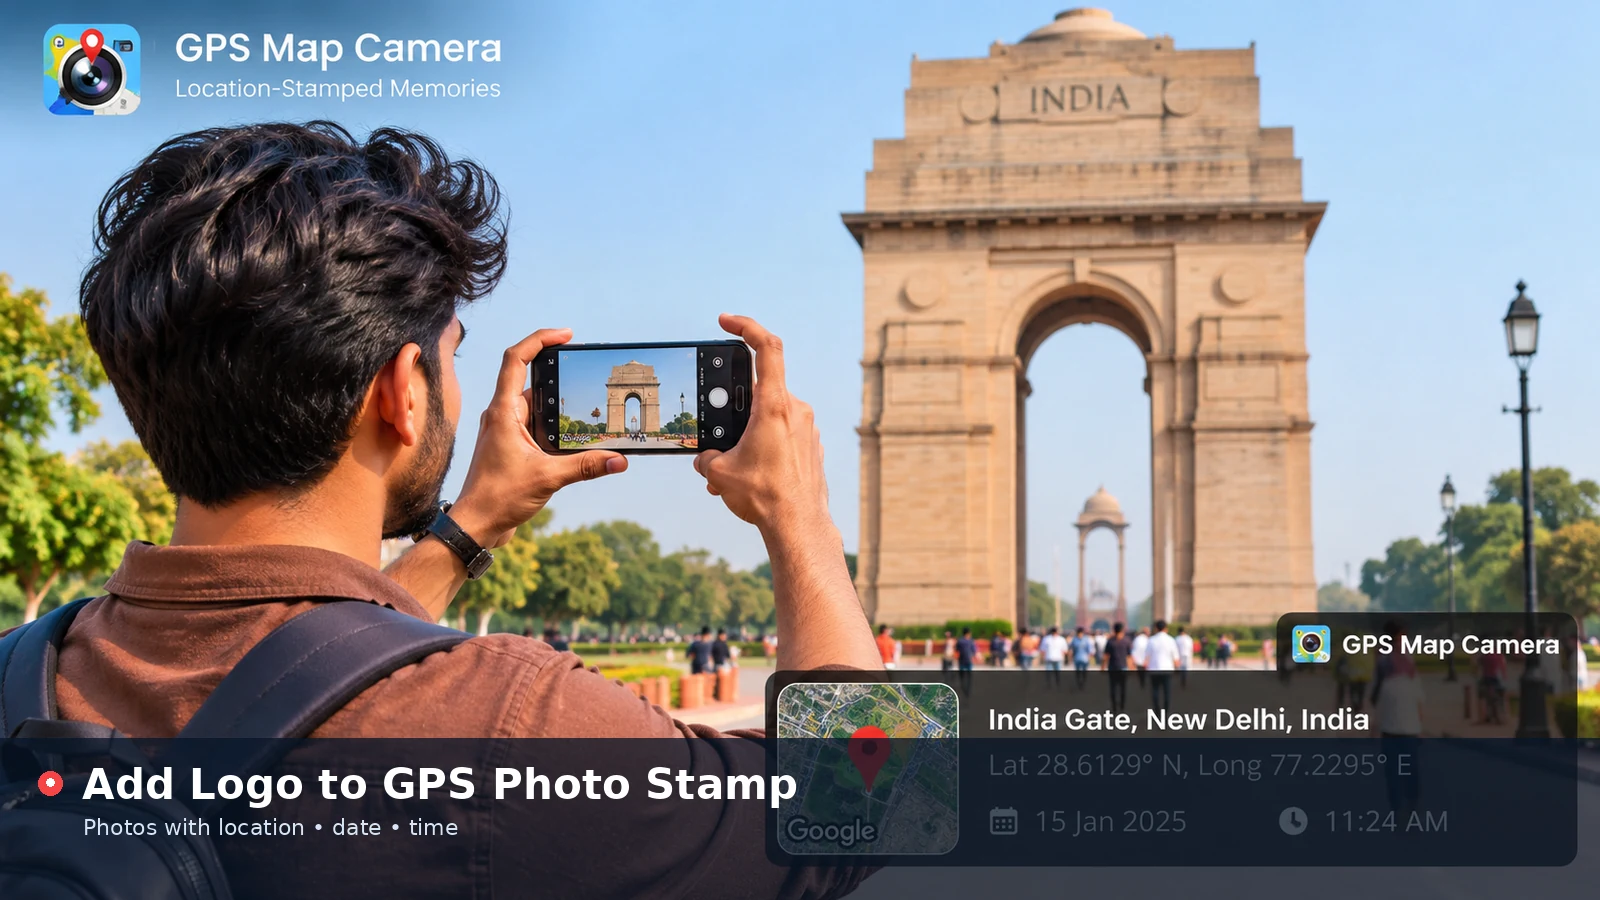
GPS Map Camera logo stamps let businesses and creators brand every location photo they share. A small logo in the stamp's title row makes pictures instantly recognisable in client folders, social posts and reports, while the location details remain clear. This article covers preparing the logo file, adding it with the online tool and keeping the result tidy.
Why Add a Logo to Location Photos
Branded stamps show who produced a photo without adding a separate watermark. For contractors, surveyors and agents, that link between a company and a dated, located record builds trust with clients reviewing the images.
A logo also keeps large photo sets organised. When several teams contribute pictures to the same project, the stamp tells you at a glance which team captured each image, even after files are renamed or merged.
- Professional, consistent look across reports
- Clear ownership when photos are forwarded
- Faster sorting of mixed photo collections
- A subtle brand presence without a large watermark
Prepare the Right Logo File
The stamp title row is small, so the logo should be simple and legible at around 40 pixels high. Detailed artwork or long wordmarks become unreadable at that size, while a compact icon or monogram stays crisp.
A PNG with a transparent background gives the cleanest result, because it blends into any stamp theme. JPG and WebP files also work, but their solid backgrounds appear as a small square behind the logo.
| File choice | Result on the stamp | Recommendation |
|---|---|---|
| PNG with transparency | Blends into every theme | Best option |
| PNG or JPG with white background | Visible square behind logo | Fine on the light theme |
| WebP | Small file, good quality | Good if transparency is kept |
| Very wide wordmark | Squeezed and hard to read | Use an icon version instead |
Size and Shape Tips
Square or nearly square logos work best because the tool fits the image into a square space beside the title. Export the file at 256 by 256 pixels or similar, which is large enough to stay sharp when the stamp is scaled up on high-resolution photos.
Add the Logo in the Online Tool
Open the tool, upload the photo you want to stamp and switch to the Style tab. Under Your logo, press Choose Logo and select the file from your device. The preview updates immediately with the logo placed at the start of the title row.
Make sure the Title row checkbox is ticked, since the logo appears only when that row is visible. You can then edit the title text, for example replacing the default name with your company or project name. To remove the logo, press Remove Logo and the stamp returns to its standard icon.
Matching the Theme to Your Brand
Pick the theme that best supports your logo colours. Dark glass flatters bright, colourful logos; the light theme suits dark marks; the sunny yellow theme works well with navy or black artwork. Check the preview on both a bright and a dark photo before settling on one style.
Upload a photo and try your logo on a live GPS stamp now.
Add Location to PhotoKeep Branded Stamps Clean
A logo should support the location details, not compete with them. Keep the title short so it sits on one line beside the logo, and use the text size slider to keep everything readable on phone screens.
- Use one compact logo rather than a full lockup
- Keep the title under about 25 characters
- Place the stamp in a corner away from the main subject
- Use the note line for job or site references
- Save a test image and view it at normal size
Using Logos Consistently Across a Team
When several people stamp photos, agree on a shared setup so every image looks the same. Document the preferred theme, position, text size and title wording, and store the approved logo file somewhere everyone can reach.
Consistency matters most in client-facing reports. Mixed styles make a set of photos look disorganised, while matching stamps signal care and professionalism.
Respecting Brand and Usage Rights
Only add logos you have permission to use. A company logo on a stamp suggests that the company produced or approved the photo, so personal photos should not carry an employer's branding unless that is allowed.
Equally, avoid adding other brands' logos to your pictures. A stamp's purpose is to explain where and when the photo was taken, and an unrelated logo can mislead viewers.
Testing Your Logo on Different Photos
A logo that looks perfect on one picture may disappear on another. Test it on a bright outdoor scene, a darker indoor shot and a busy, colourful image to see how it behaves against each background.
If the logo blends into one of these, switch themes or add a thin outline or light background to the logo file itself. A small adjustment at the start saves you from re-stamping a whole set of photos later.
- Bright scenes: dark glass theme keeps colourful logos visible
- Dark scenes: light theme suits navy and black logos
- Busy scenes: yellow theme separates the stamp from the background
Logo Ideas for Different Users
Businesses usually choose their main brand icon, but many other users benefit from a small mark as well. Photographers can add a personal monogram, clubs can use their badge for event photos and project teams can create a simple icon for each site.
Whatever you choose, keep it consistent. Using the same mark, title and theme across months of photos turns a scattered collection into a recognisable, well-organised archive.
Updating Your Logo Later
Brands change over time, and stamped photos keep whichever logo was used when they were saved. When you update your mark, start using the new file for fresh photos and keep older images as they are, so your archive honestly reflects each period.
Conclusion
GPS Map Camera logo stamps combine branding and location details in one clean overlay. Prepare a compact, transparent PNG, add it through the Style tab, choose a theme that suits its colours and keep the title short. The result is a recognisable, professional photo record that stays readable wherever it is shared.