GPS Map Camera Editor: Change Location, Date and Stamp Style
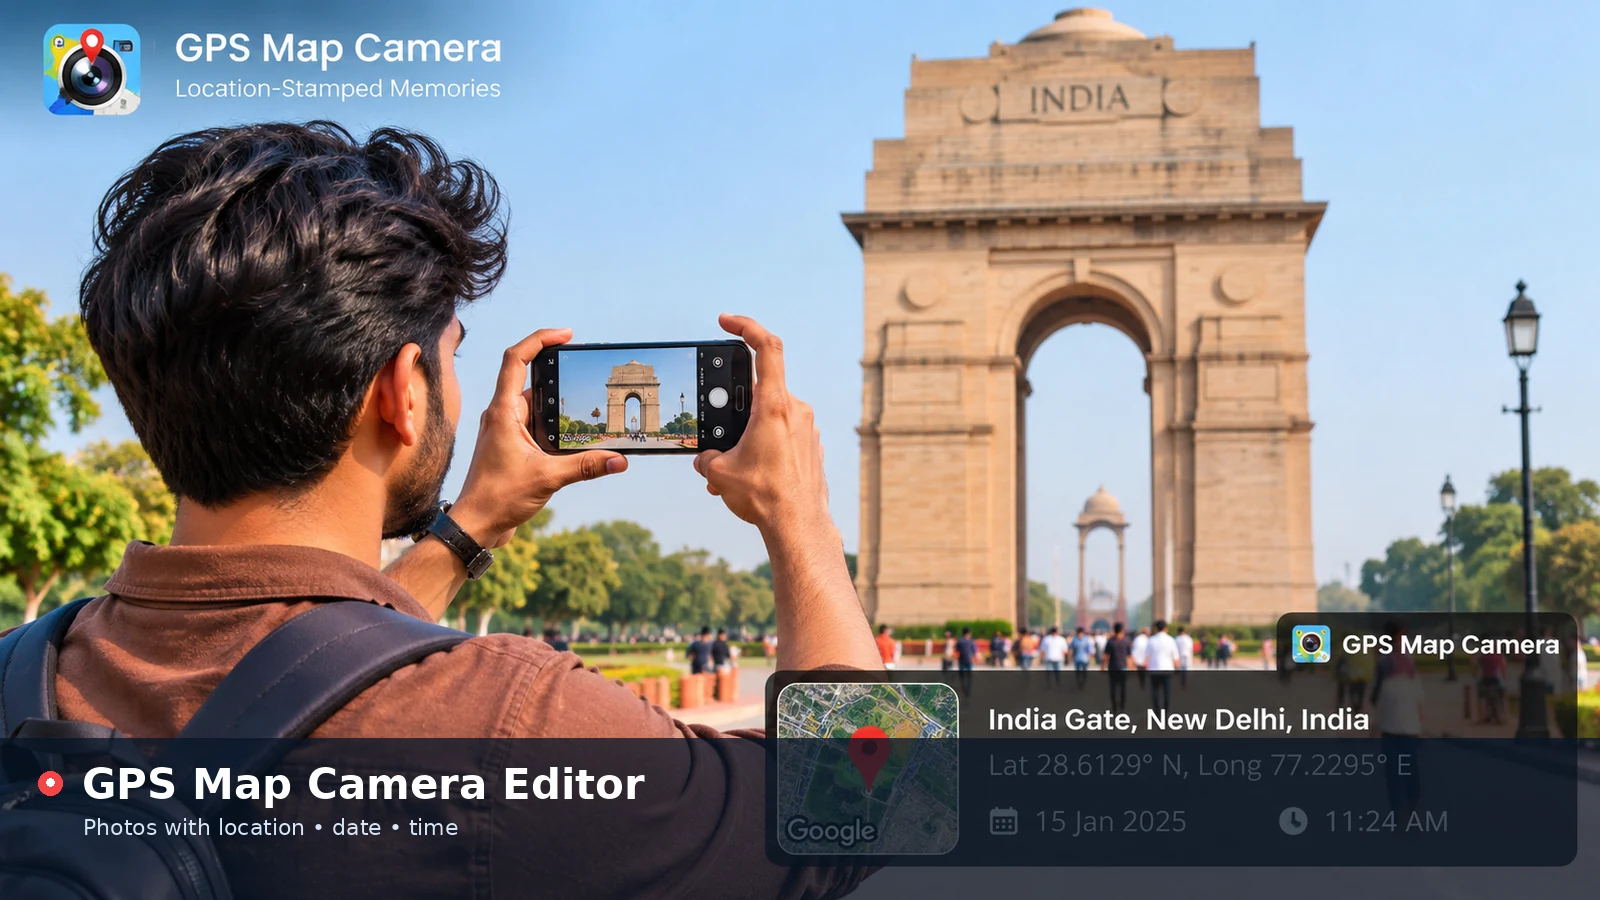
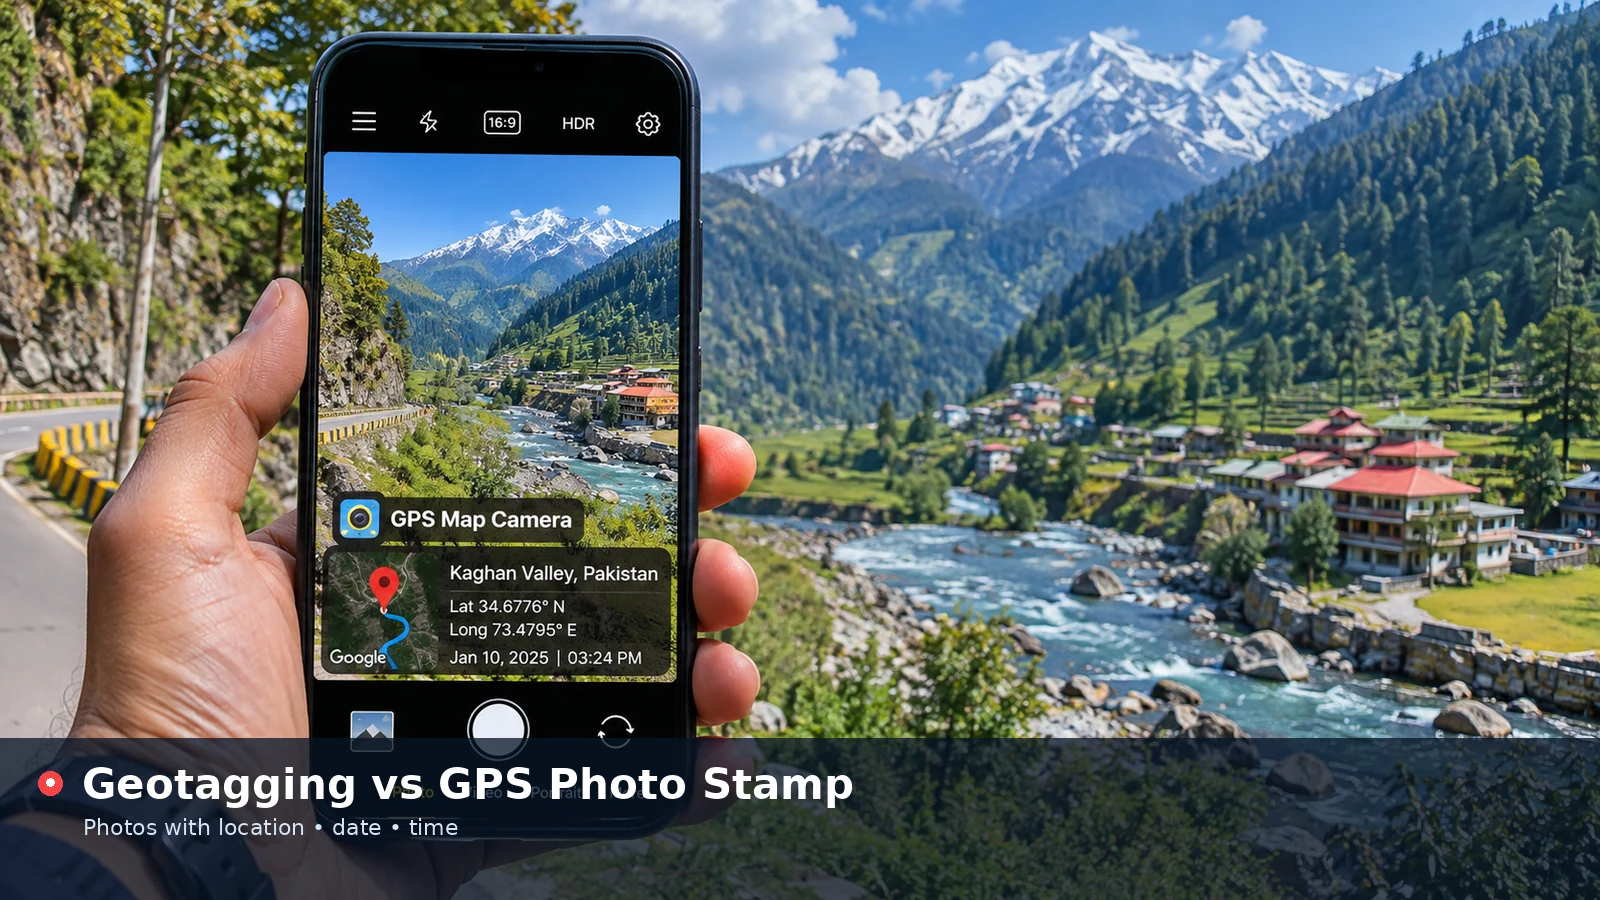
GPS Map Camera Editor features let you adjust every part of a location stamp before saving the final photo. You can correct a place name, change coordinates, set a different date and redesign the overlay so it suits the picture. This article covers each editable element, the options available in the online tool and the habits that keep edited stamps honest and readable.
What You Can Edit
The online tool treats the stamp as a set of separate fields, so changing one detail never forces you to start again. Every change appears instantly on the live preview, which makes experimenting quick.
| Element | Where to edit | Options |
|---|---|---|
| Place name and address | Location tab | Free text, two lines |
| Latitude and longitude | Location tab | Manual entry or current position |
| Date and time | Date tab | Any date, five display formats |
| Coordinate style | Date tab | Decimal or degrees, minutes, seconds |
| Title, note and logo | Style tab | Custom text and image |
| Position, theme, size | Style tab | Five positions, three themes, 70–150% |
Editing the Location
Place names often need tidying. A raw address can be long and hard to read, so shorten it to the parts that matter, such as the area, city and country. Use the address line for supporting detail like a street, building or landmark.
Coordinates can be corrected if the original reading was inaccurate. Copy a precise point from a mapping app you trust and paste the latitude and longitude into the fields. The tool checks that values stay within valid ranges and highlights any mistakes.
Reading Existing Photo Data
When you upload a JPG that already contains GPS metadata, the tool reads those coordinates and the original capture date and places them into the form. That gives you a reliable starting point, which you can then label with a readable place name.
Editing the Date and Time
The Date tab controls both the value and its appearance. Choose the format that matches your audience: day-first styles suit most of the world, month-first fits American readers, and the ISO style sorts well in file lists and spreadsheets.
If you are stamping a photo right now, the current date button saves time. For older pictures, rely on the capture date read from the file, or enter the date from your records.
- 08 Jan 2025, 10:24 AM for general use
- Jan 08, 2025, 10:24 AM for US audiences
- 08/01/2025 10:24 for compact day-first stamps
- 2025-01-08 10:24 for technical records
Editing the Stamp Design
Design choices decide whether a stamp helps or distracts. Start with position: corners keep the subject clear, while the full-width bar suits documentation where the stamp must be prominent. Then choose the theme with the best contrast against that part of the image.
The text size slider scales the entire stamp, including the map badge and logo. Larger stamps are easier to read on phones, while smaller ones suit high-resolution prints.
Showing Only What Matters
Four checkboxes let you hide the title row, place details, coordinates or date. Public posts often look better with only place and date, while inspection reports benefit from every detail plus a note line with a reference number.
Open the editor, upload a photo and fine-tune your stamp in real time.
Add Location to PhotoKeeping Edited Stamps Honest
Being able to edit a stamp is useful for fixing errors, but it also means a stamp alone does not prove where a photo was taken. Use the editor to correct and clarify, not to present a different place or time than the real one.
For records that others rely on, keep the original photo with its metadata alongside the stamped copy. That combination gives reviewers both a readable summary and the underlying data.
Saving a Consistent Look
When you stamp a series of photos, note the settings you chose so each image matches. The tool keeps your choices while you work through several pictures in one session, so you can upload the next file without redoing the design.
- Keep the same position and theme across a set
- Use identical date and coordinate formats
- Reuse the same title and logo for branded work
- Save in one format, JPG or PNG, for the whole batch
Editing for Different Audiences
The same photo might go to a client, a colleague and a public page, and each audience needs different details. Clients often want full coordinates and a reference note, colleagues prefer compact stamps, and public posts are usually best with only the place and date.
Saving separate copies for each audience takes seconds. Upload the photo once, adjust the visible fields and save, then change the settings and save again. The original stays untouched throughout.
- Client reports: every detail plus a reference note
- Team updates: place, date and a short note
- Public sharing: place and date, coordinates hidden
Checking Accuracy Before You Save
Small errors are easy to miss in a busy preview. Zoom into the stamp, read each line aloud if needed and compare coordinates with a map you trust, especially when the photo will be used as a record.
Pay attention to time zones and AM or PM settings. A photo taken in the evening that shows a morning time can cause confusion later, so confirm the date and time format matches what you intended.
Frequently Asked Questions
Can I edit a stamp after saving the photo?
The saved image has the stamp printed into its pixels. Upload the original photo again and create a new stamped copy with your changes.
Does editing change my original file?
No. The editor always saves a new copy, leaving the original untouched.
Can I remove the coordinates but keep the address?
Yes. Untick Coordinates in the Style tab and the stamp shows only the remaining details.
Why do my edits not appear on the photo?
Check that the matching checkbox is ticked and that the field is not empty. Validation messages also appear if a value is out of range.
Conclusion
GPS Map Camera Editor tools give you full control over the place, coordinates, date and design of every stamp. Correct details carefully, keep originals for important records and use consistent settings across a set. The result is a collection of photos that are accurate, readable and professional.